Its another entry in DIY July, Bibliotheca’s monthly theme! You can see the other things I’ve done for DIY July or check out Bibliotheca’s website and sign up for their newsletter to see what all of the bloggers came up with this month!
The most quintessential element of a lolita blouse is the Peter Pan collar. The rounded edges immediately call to mind images from early Gothic and Lolita Bibles. You don’t have to look too hard on Japanese brands’ websites before you spot this classic design element.
Unfortunately, Peter Pan collars are pretty few and far between in the western fashion world. Luckily, it’s super easy to fake a Peter Pan collar with a dickie or detachable collar. I love adding collars to t-shirts, cardigans or on top of other blouses to change up my coordinate.
With just a 1/4 yard of fabric, you can quickly make your own collar so you too can trick people into thinking you’re wearing a fancy ~collared~ blouse.
Make your collar pattern
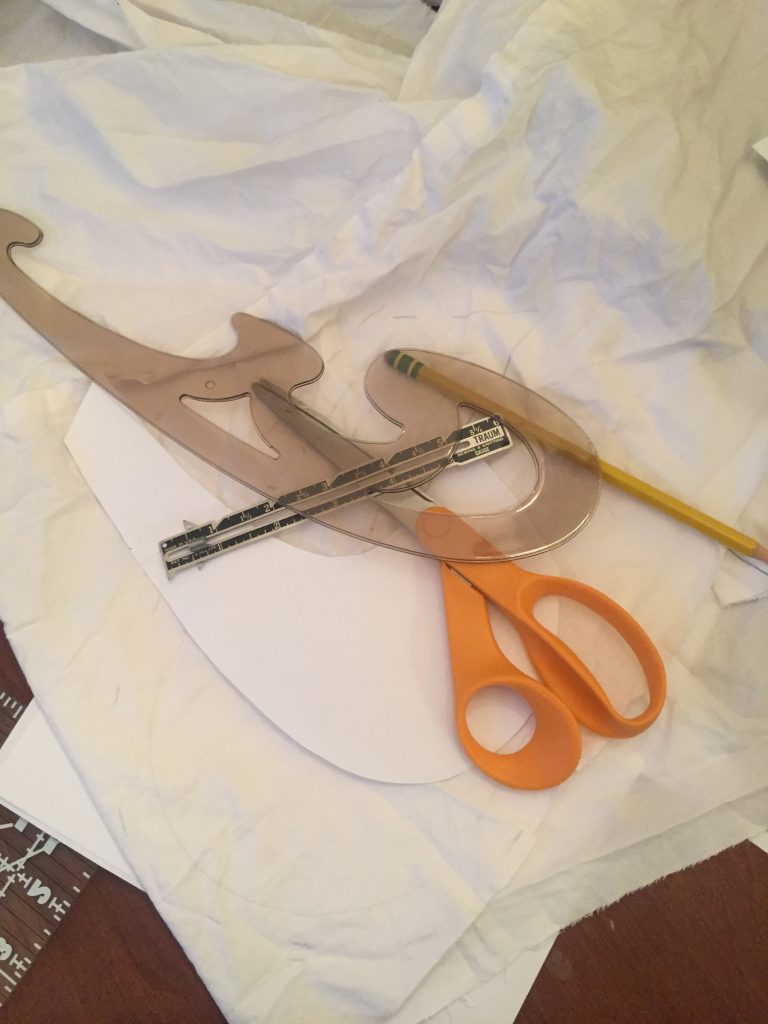
Using a blouse you already own, trace the outline of the collar onto a sheet of paper. You can lay the paper on your neck to see how the final collar will look and adjust as necessary.
I’ve designed my collar so it will be attached in the front and tie with a bow in the back. However, you could just as easily making your collar connected in the back and close at the center. Play around with patterns until you find one that you like!
Trace your pattern onto your fabric
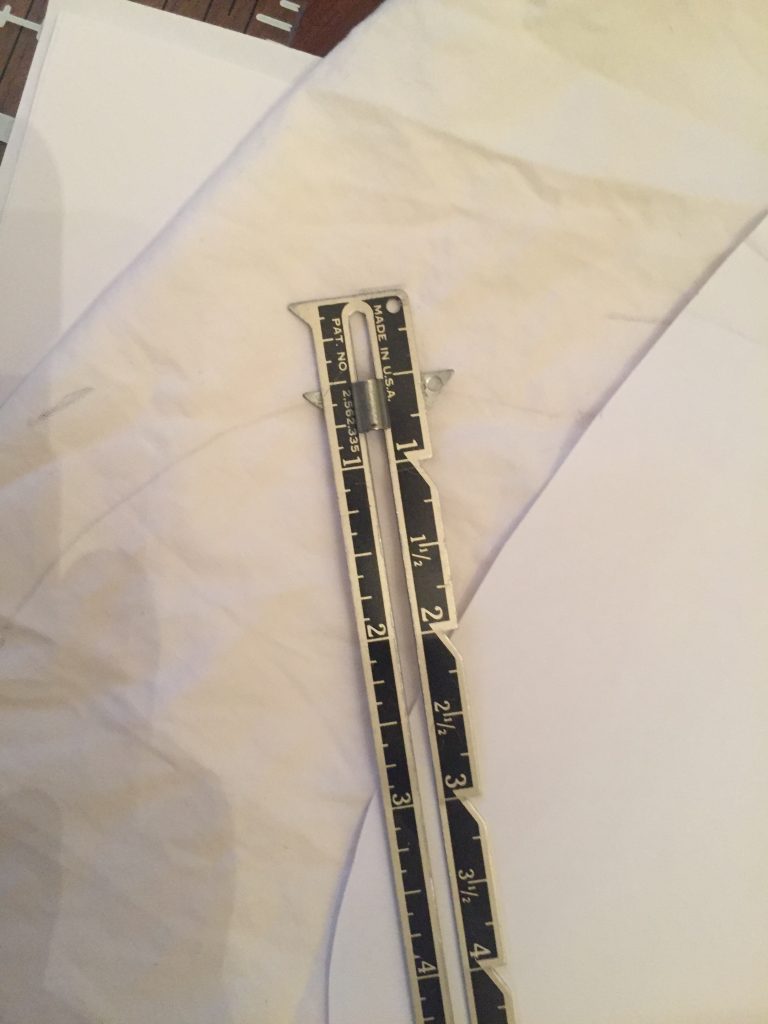
Carefully trace your pattern onto your fabric, making sure to include seam allowance.
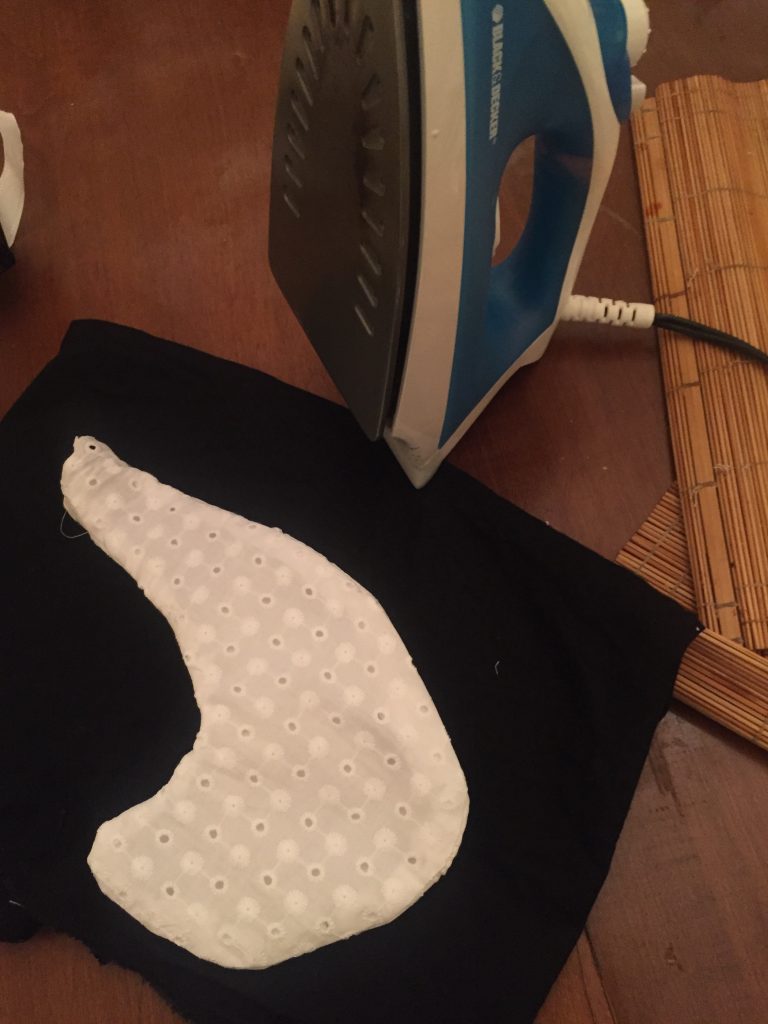
Cut out your fabric

I’m using an eyelet lace fabric, so I’ve chosen to underline my fabric. You may not need to do this, but you’ll want to cut out at least four pieces: two for the left and right sides of your collar, and two for the lining fabric.
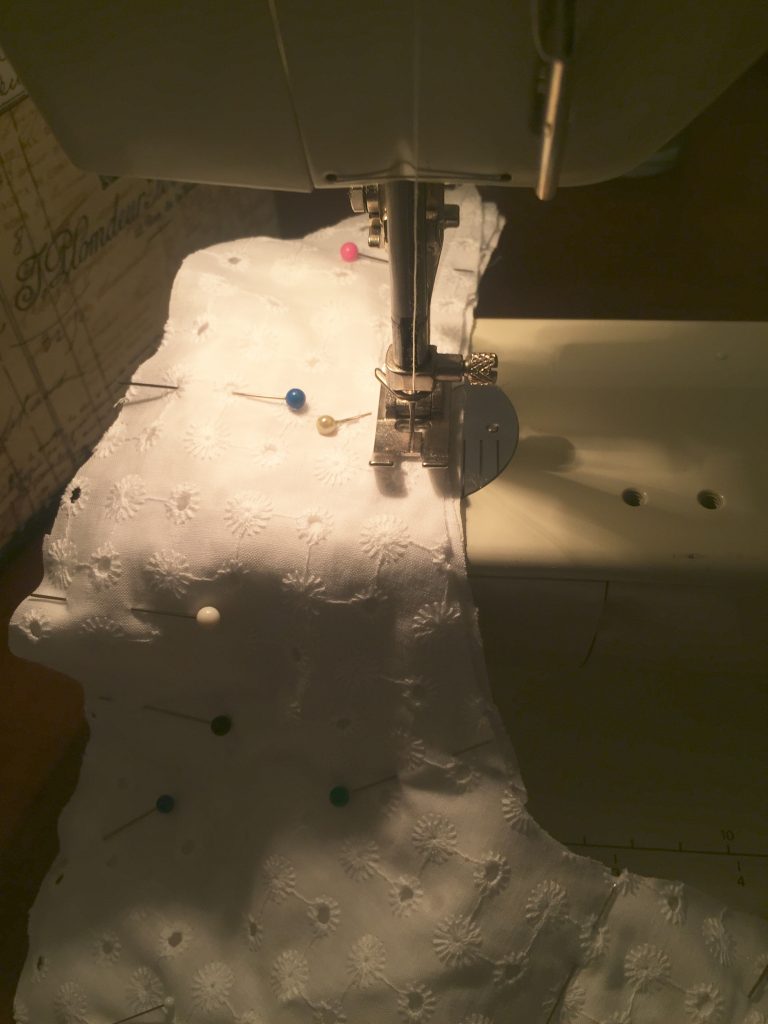
Attach right sides together with pins and sew
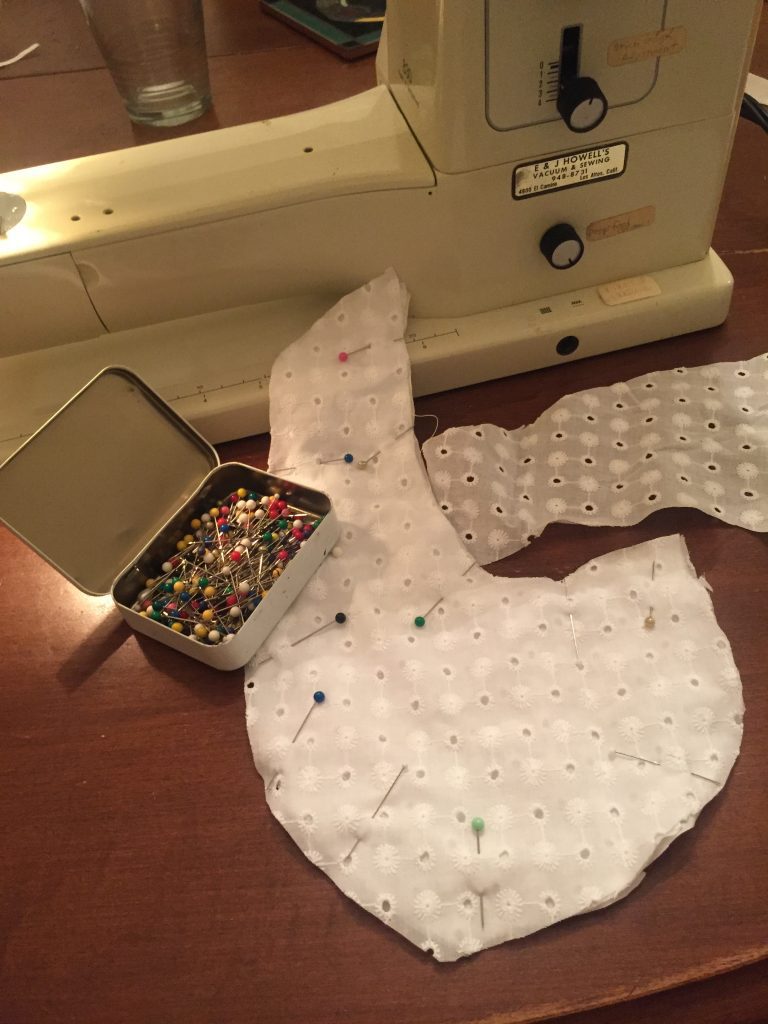
Match right sides together for the lining and fashion fabric. Sew closed, leaving a small opening on the back of the collar to turn it right side out. If you’ve chosen to close your collar at the back, we will also use this opening to attach the ribbons.
Clip/Notch your seams

In order to make sure your collar is beautifully curved, we need to clip the seams. Since these curves are convex (curve out, like the top of a bowler hat), we’ll need to cut out small triangles very close to the stitches. These triangles are called notches.The concave stitches in the middle will be clipped. The more clipping/notches you do, the more you’ll release the tension and allow the seam to sit flat.
Press your seams and turn
Using a tailor’s ham or similar curved object that can be ironed on, press your seams open. Turn your collar right side out. Press again.
Close your seam
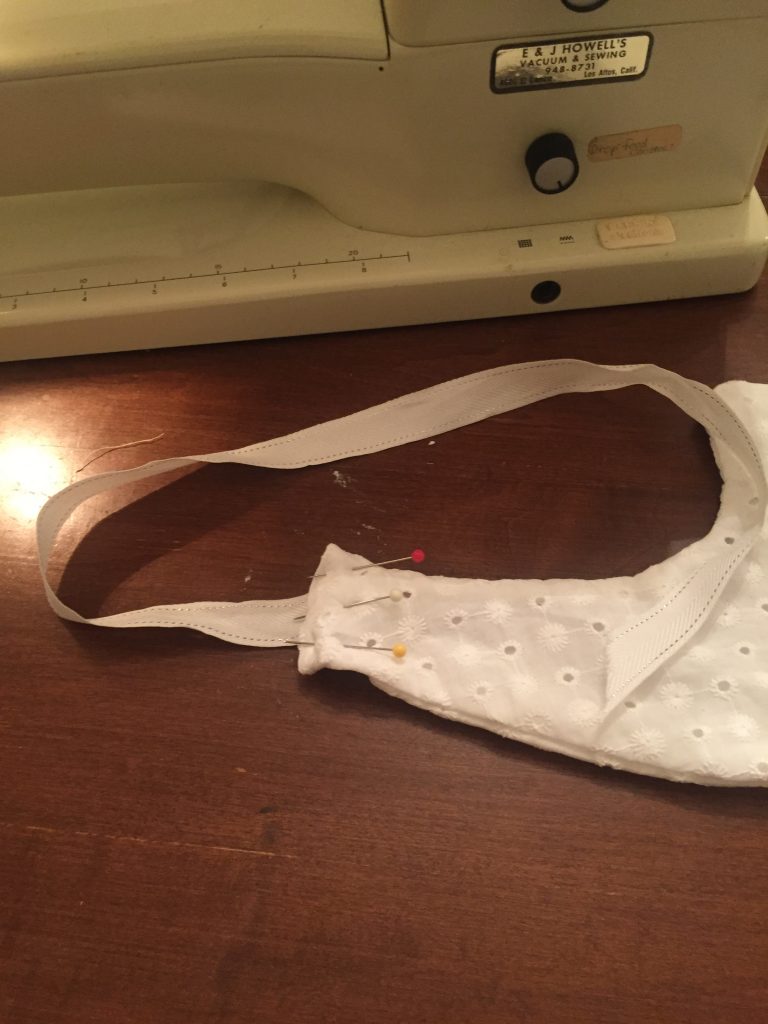
If you’ve chosen to close your collar in the back, cut your ribbon to length and insert into the opening. Pin in place. Using handstitches or topstitching, close your collar’s opening.
Connect your collar in the front
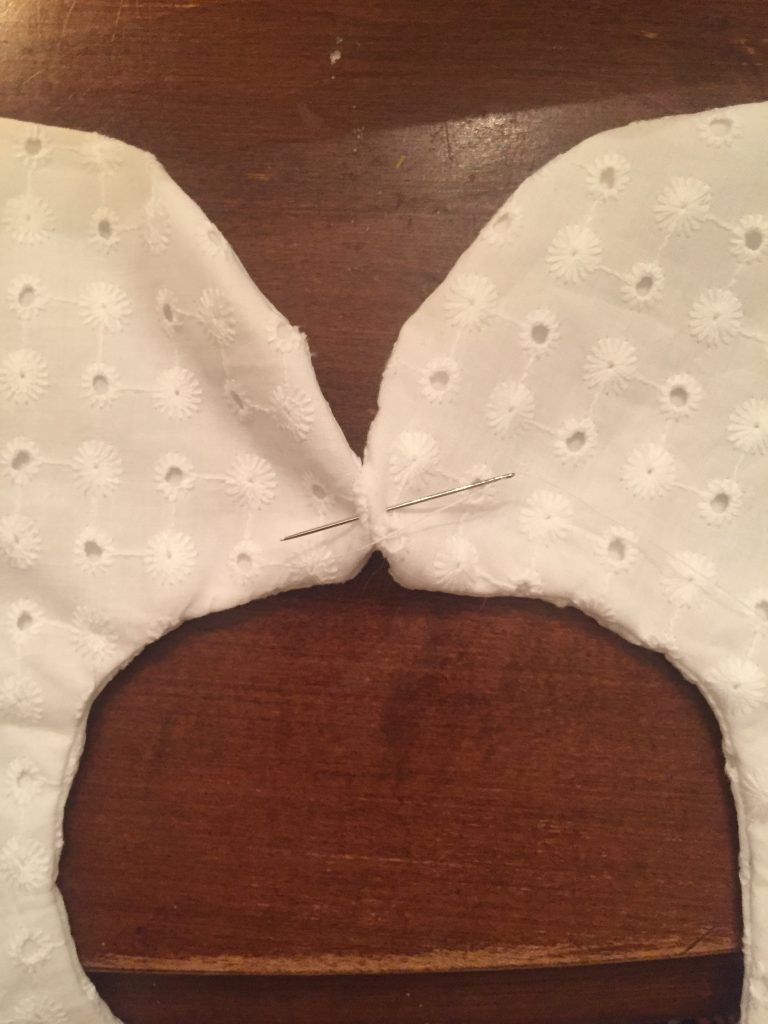
If you’ve chosen to close your collar in the back, use a few whip stitches to connect your collar in in the front.
Decorate as your detachable collar as you like.
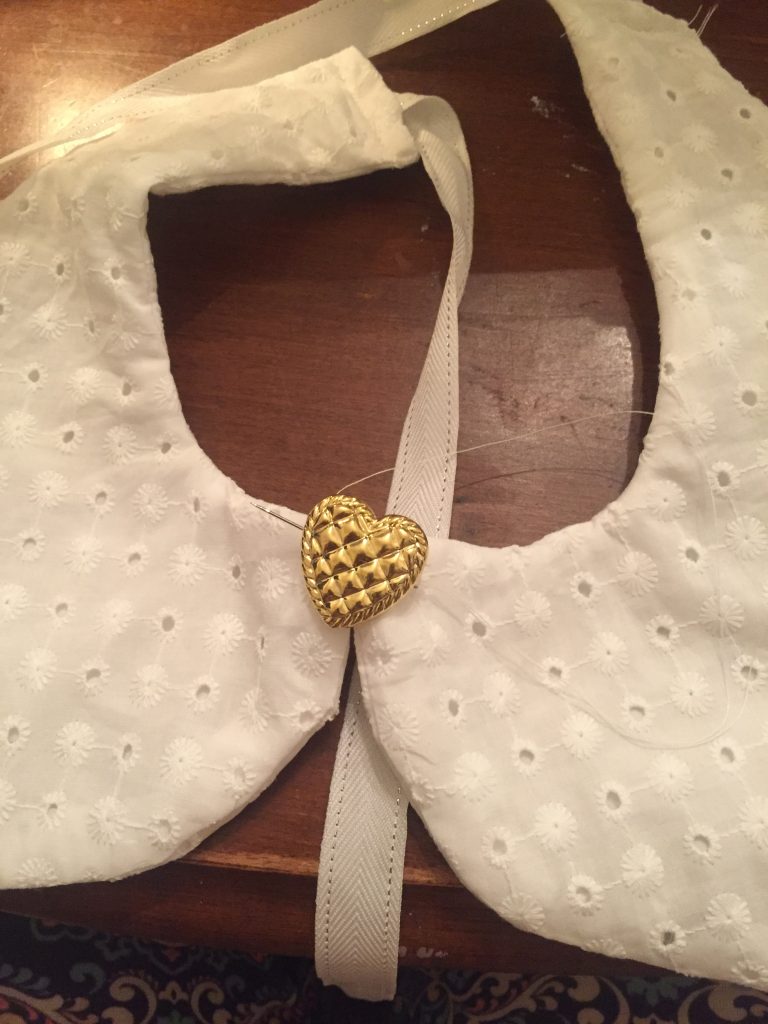
Since this fabric is so busy, I only added a single button to hide the stitches in the front of my collar. However, with a plain black or plain white collar, you could add tons of other decoration.
![]()
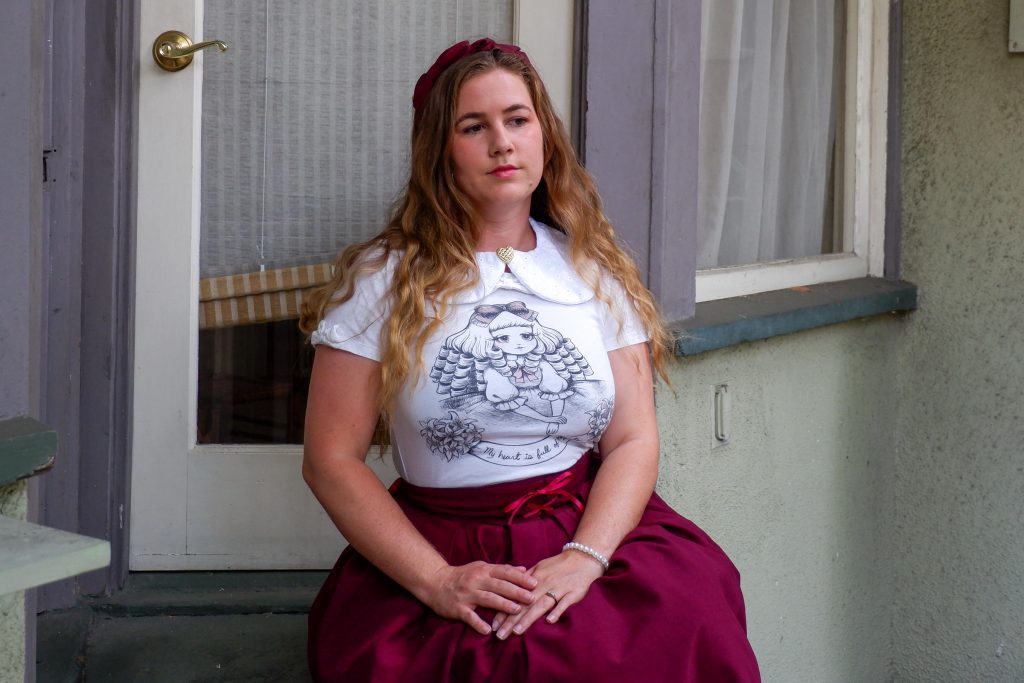
Check out the detachable collar in this coordinate, which features a small black bow for a pop of dark color at the top of this coordinate.

Hopefully this gives you some ideas for how to make and style detachable collars! I love these versatile pieces, and I’d love to see what you do with them.
If you found this tutorial helpful, please consider supporting me on Kofi.